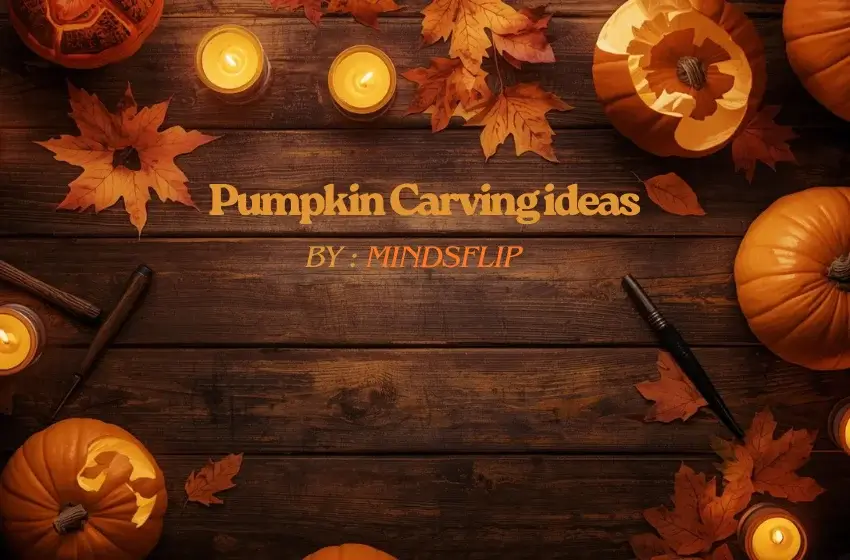
Pumpkin Carving Ideas: The Ultimate Halloween Guide
Hello there! How are you doing? Welcome to MindsFlip I’m really glad you’re here! In today’s guide, we’re diving into something super fun and festive Pumpkin Carving Ideas!Whether you’re a beginner, a parent helping your kids, or a Halloween lover ready to try something advanced, this guide covers everything you need to know.
We’ll explore easy ideas, creative designs, expert-level tips, and even how to make your pumpkin last longer. So, grab your tools and let’s get started!
What Is Pumpkin Carving and Why It’s So Popular
If you’ve ever walked through a neighborhood during Halloween and seen glowing pumpkins with spooky or funny faces that’s pumpkin carving!
Pumpkin carving is the art of hollowing out a pumpkin and cutting creative designs on its surface. People usually light them up with candles or LEDs, giving that magical Halloween glow we all love.
Why is it so popular? Because it’s not just decoration it’s creativity, family fun, and tradition.
It’s one of those rare activities that brings everyone together. Kids love getting messy, and adults enjoy showing off their designs on Instagram.
Essential Tools and Materials You’ll Need
Before carving, make sure you’ve got the right tools. It'll make everything easier and safer.
You’ll need:
- Pumpkin: Choose one that’s firm and smooth. Medium sizes are easiest.
- Carving tool or sharp knife: Pumpkin kits are safer than kitchen knives.
- Scoop/spoon: To remove seeds and pulp.
- Stencil or pattern: Freehand or printed templates both work great.
- Marker or pencil: Outline your design first.
- LED light or candle: To make it glow beautifully.
- Paper towels/cloth: For quick cleanups.
If kids are helping, use plastic carving tools they’re safer but still effective.
Simple & Easy Pumpkin Carving Ideas for Beginners
If you’re carving for the first time relax! You don’t need to be an artist to make a great-looking pumpkin. Try these simple but fun ideas:
- Classic Smiley Face Two triangles for eyes and a big smile.
- Spooky Ghost A wavy ghost outline with glowing eyes.
- Cat Eyes Pumpkin Big cat eyes + triangle nose = simple but cool.
- Stars & Moon Carve stars or circles for a soft glow.
- Emoji Pumpkin Heart eyes or wink face perfect for social media!
Made a mistake? Patch it with a toothpick or start a new face on the other side. No one will ever know!
Creative & Unique Pumpkin Carving Designs (Intermediate)
Once you’ve nailed the basics, level up with these eye-catching ideas:
- Haunted House Pumpkin : Tiny windows that glow eerily.
- Scary Face Pumpkin : Sharp teeth, wide eyes, and a creepy grin.
- Witch or Wizard Theme : Add hats, brooms, or magic wands.
- Movie or Cartoon Characters : From Jack Skellington to Minions.
- Shadow Pumpkin : Shave the skin lightly for a glowing 3D effect.
Mix carving and painting for an artistic finish!
Advanced Pumpkin Carving Ideas for Experts
Ready to go pro? Try these advanced-level carving ideas:
- 3D Face Carving : Sculpt a ghost, monster, or portrait with clay tools.
- Multi-Pumpkin Display : Stack 2–3 pumpkins into a full Halloween scene.
- Layered Carving Technique : Create glowing shadows by carving at different depths.
- Lace-Pattern Pumpkin : Drill small holes for an elegant, glowing lace effect.
- Character Portraits : Dracula, Frankenstein, or any movie star!
Keep your pumpkin moist while carving to prevent cracks.
Pumpkin Carving Ideas for Kids & Families
Carving is a family favorite but keep it safe and fun!
Safety Rule: Adults handle sharp tools. Kids draw, paint, or decorate.
Fun family-friendly ideas:
- Paint Instead of Carve: Use paint, glitter, or stickers.
- Mr. Potato Pumpkin: Attach paper parts and buttons for silly faces.
- Animal Pumpkins: Cats, owls, or bunnies with felt ears and wings.
- Glow Stick Pumpkins: Light them up with colorful glow sticks.
- Candy Monster Pumpkin: Carve a mouth and fill it with candy!
Roast the leftover pumpkin seeds a healthy, tasty snack!
Tips to Make Your Pumpkin Last Longer
We’ve all been there. You carve the perfect pumpkin, light it up proudly, and just a few days later it starts to droop or mold. But don’t worry! Keeping your pumpkin fresh is easier than you think. Start by placing it somewhere cool and shaded or pop it in the fridge overnight if the weather’s warm.
After carving, give it a quick soak in cold water with a dash of bleach to kill mold and rehydrate the skin. Once dry, rub a little petroleum jelly or cooking oil over the carved edges to seal in moisture and give it a nice shine.
Skip real candles; they produce heat that speeds up rotting. Instead, use LED lights for a safe, long-lasting glow. And if you live in a hot area, refrigerate your pumpkin every couple of nights to keep it fresh till Halloween night!
Common Mistakes to Avoid While Carving
While researching this topic, I noticed most people make the same carving mistakes and honestly, I’ve made them too! The first one? Cutting from the top instead of the bottom.
Always cut from the bottom it’s easier to clean and makes your pumpkin sit better. Also, don’t use kitchen knives; they're unsafe and hard to control. A pumpkin carving kit works way better.
After scooping, make sure to dry the inside properly.
A wet pumpkin molds fast! And try to keep your design simple; detailed patterns often collapse or break. Skip real candles (they dry out the pumpkin) and go for LED lights instead. Lastly, store it in a cool place or fridge overnight to keep it fresh longer.
Take a few extra minutes to plan your design first. It really makes a difference. A little patience now will save your pumpkin later!
Final Touches: Decorating & Displaying Your Pumpkin
Now that your pumpkin masterpiece is ready, let’s make it shine!
- Light It Up: Use LED or fairy lights; they're safe, bright, and look stunning.
- Perfect Placement: Doorstep for welcoming vibes, windows for spooky vibes.
- Add Decor: Fake cobwebs, leaves, small pumpkins all create a festive setup.
- Combine Props: Mix your pumpkin with lanterns or skeleton hands for a Halloween feel.
- Take Photos: Capture your glowing pumpkin at sunset for social media perfection.
Each little touch adds personality to your design so go ahead and make your pumpkin the star of your Halloween display!
Conclusion
Well, that’s everything you need to know about pumpkin carving ideas!
I hope this guide helped answer all your questions and gave you some fun inspiration for your next pumpkin masterpiece. I spent a lot of time researching to make sure every tip here is useful and easy to follow so whether you’re a beginner or a pro, you’re all set for Halloween!
If you still have any questions or want to share your own pumpkin designs, feel free to drop a comment below I’d love to hear from you.
That’s all for now I’ll take my leave! This article was written by MindsFlip, and for more creative and seasonal ideas, don’t forget to visit us again